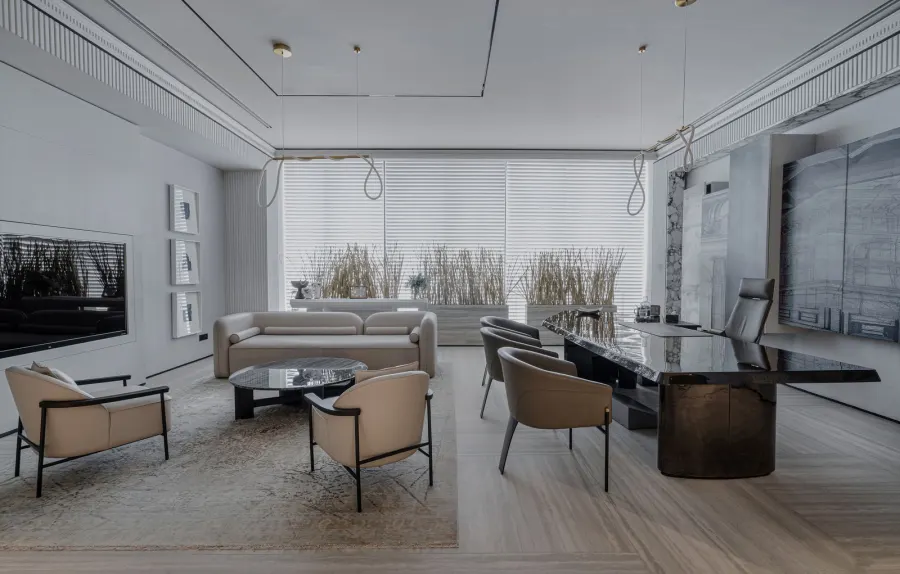
False ceiling &
lighting design.

The ceiling is the one surface nobody sits on and everybody sees. We draw it as a plane in its own right — services hidden inside it, light coming out of it, and not a single visible seam.

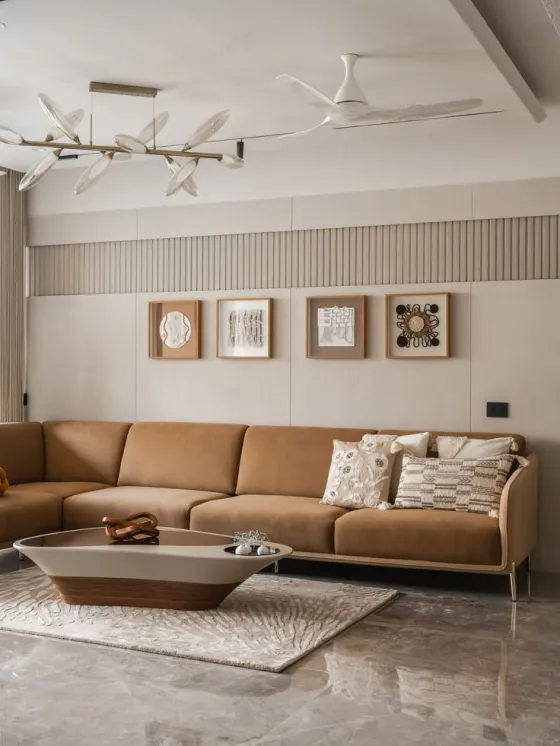
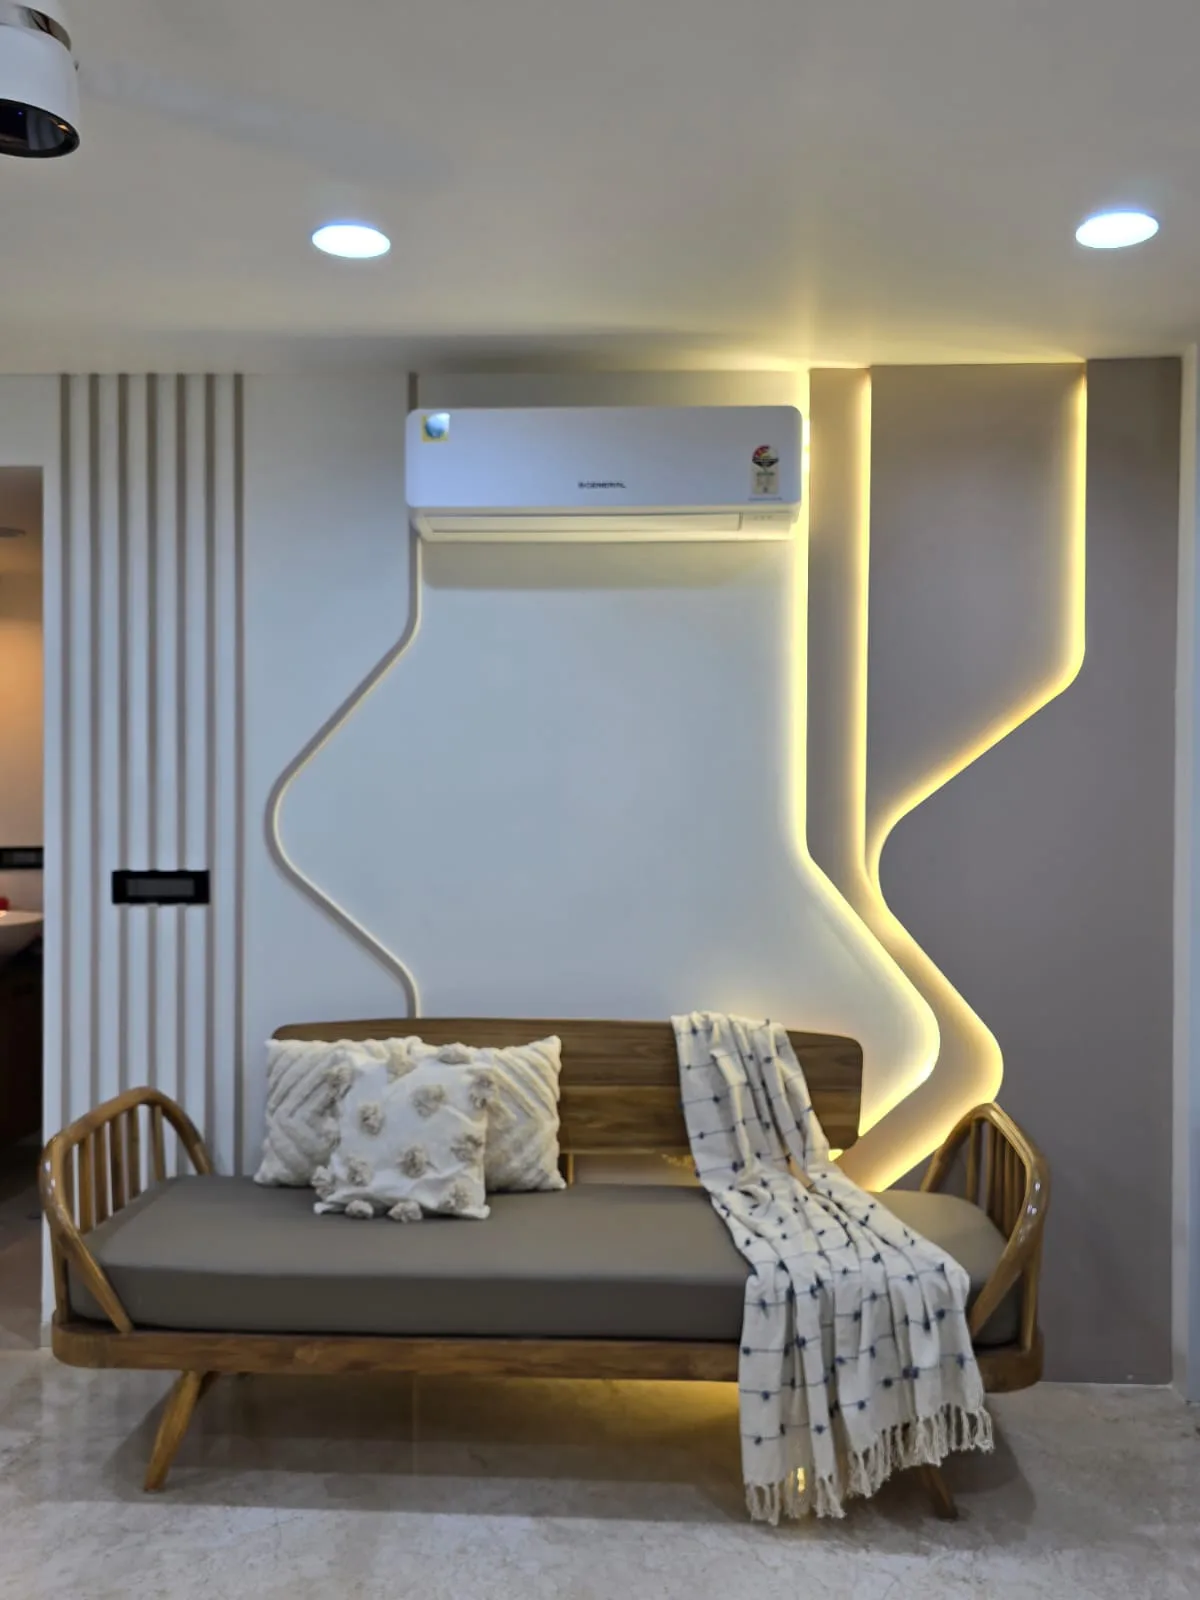
Lounge in an Ahmedabad apartment with a stepped cove ceiling washing warm light down the wall behind a daybed

Turnkey — Ceiling & Light

Once the design is signed,
the ceiling goes up first.

Ceiling and lighting is where a Castle Design build actually begins on site in Ahmedabad and across Gujarat. Everything above your head — ducting, conduit, drivers, the fan hook — has to be resolved before a board closes over it.

So we draw the ceiling twice: once as a reflected plan showing every drop, cove and shadow gap, and once as a services plan showing what is hiding inside the void. The two are read together on site. Nothing gets buried that we might need again.

  • Gypsum & POP ceilings
  • Cove & pelmet detailing
  • Service voids for ducting
  • Reflected ceiling plans
  • Layered lighting schemes
  • Dimming & circuit splits
Plan My Ceiling

Scope

What the ceiling drawing
actually carries.

A reflected ceiling plan is not decoration. It is the document that keeps the electrician, the AC vendor and the carpenter out of each other’s way.

  • Slab survey & achievable ceiling heights
  • GI channel grid & gypsum board layout
  • POP profiles, curves & cornice work
  • Cove, pelmet & shadow-gap sections
  • Service void for AC ducting & drain lines
  • Fan hooks, grille cut-outs & access panels
  • Downlight grid, beam angles & spacing
  • Profile lights, linear strips & magnetic tracks
  • Colour temperature & lux level by room
  • Dimming circuits, driver positions & scene grouping
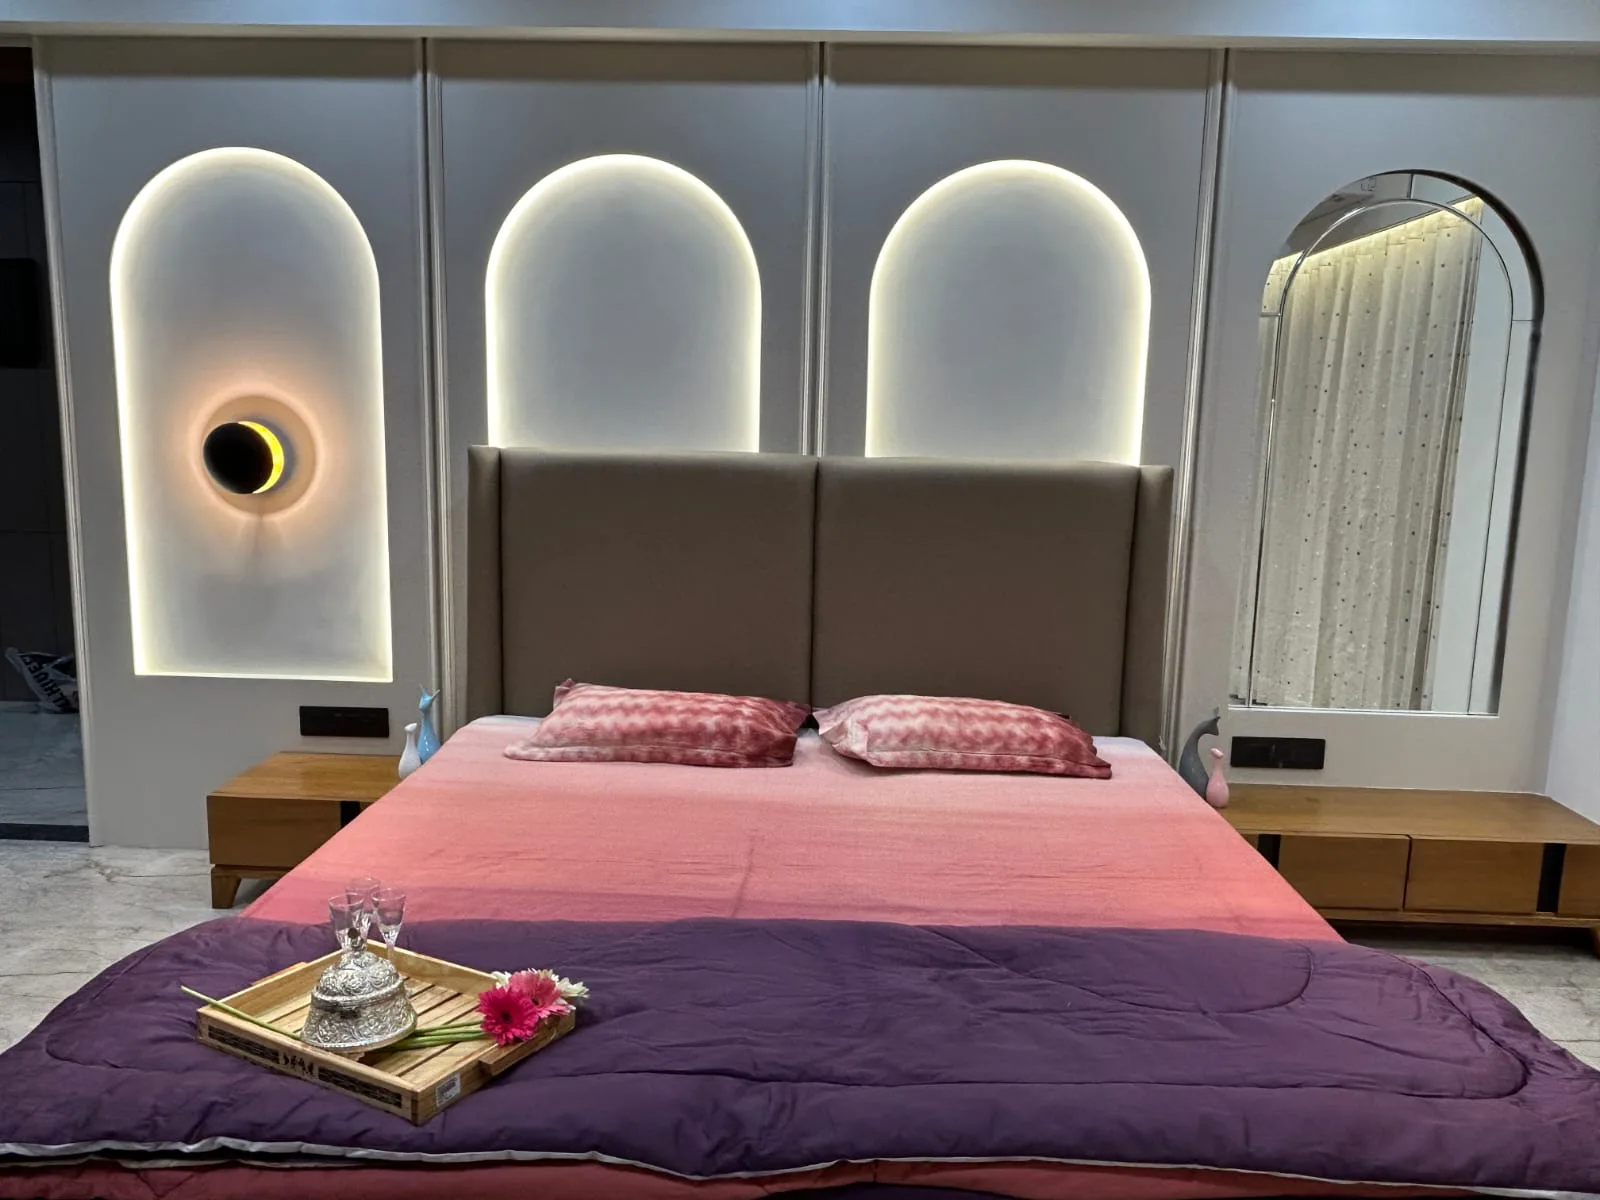
Bedroom with a backlit arch headboard and concealed profile lighting set into the ceiling drop

Light

You should see the light,
never the fitting.

The best-lit rooms we build have very few visible lamps. Light comes off a cove, out of a recessed profile, from behind a headboard — and the source stays out of your eyeline.

We set a target lux for each room and work backwards to the fittings: brighter over a worktop, gentler beside a bed, tightly controlled over art. Then we group the circuits so a living room can run at full brightness for a family dinner and drop to a single accent layer an hour later, from the same switch plate.

  • Recessed profile & linear lights
  • Cove & backlit panel washes
  • Narrow, medium & wide beam spots
  • 2700K, 3000K & 4000K by room
  • Flicker-free dimmable drivers
  • Scene grouping & switch-plate logic
See Lighting on Site

Our Design Process

Eight stages. Zero surprises.

Ceiling and lighting work runs on the same eight stages as every Castle Design project — drawn before it is built, and signed off before a single channel goes up.

01

Consultation

Understanding your lifestyle, requirements and budget.

02

Budget & Approval

A detailed quotation with complete transparency — no hidden lines.

03

Design & Planning

Space planning, design concepts and photoreal 3D visualization.

04

Material Selection

Choosing premium finishes, hardware, colours and textures together.

05

Manufacturing

Precision-crafted modular furniture, plus coordinated on-site work.

06

Execution

Professional installation under dedicated site supervision.

07

Quality Check

A thorough inspection of every joint, finish and fitting before sign-off.

08

Handover

Delivering a beautifully finished space, ready to enjoy from day one.

Questions

Ceilings and light,
answered.

Board versus POP, ceiling drop, dimming, colour temperature — the questions that come up the week before the grid goes in. Ask them early; ceilings are hard to reopen.

+91 88492 96750

Gypsum board on a GI channel grid is our default: it is factory-made, dimensionally stable, and it takes a crisp shadow gap or a straight cove without cracking along the joint. POP still earns its place for curved profiles, domes and heavy cornice work, where it can be modelled on site. In most flats we use gypsum for the flat planes and POP only where the drawing curves.

Not if it is planned. We measure the slab-to-floor height first, run the ducting and conduits through a planned service void, and drop only the bands that need to carry services or light — leaving the centre of the room at full height. A peripheral drop with a cove reads taller than a flat slab, not shorter.

Three jobs done by three different fittings. Ambient light fills the room, task light lands on the worktop, the desk or the mirror, and accent light picks out art, texture or a niche. Put all three on separate circuits and one room becomes four moods without changing a single lamp.

Warm white around 2700K–3000K for bedrooms, living and dining, where skin tones and timber need to look right. Neutral 4000K over kitchen worktops, study desks and wardrobe interiors, where you need to see clearly. We keep the temperature consistent within a sightline — nothing looks worse than a warm ceiling next to a cold one.

Only if the circuit was wired for it beforehand, which is why dimming is decided at the drawing stage. We split the ceiling into dimmable and switched groups, specify drivers that actually dim without flicker, and mark the dimmer positions on the electrical layout before the boards go up.

From beam angle and mounting height, not from a rule of thumb. A narrow beam throws a tight pool and needs closer spacing; a wider beam covers more floor and can sit further apart. We plan the grid so the pools overlap gently at working height, and we keep the fittings aligned to the room, not to the joists.

Related

The stages either
side of this one.

All Turnkey Projects

3D Visualization

See the cove glow and the beam pools before a single channel is screwed to the slab.

Explore

Material Selection

Finishes are picked under the light that will actually fall on them — not under a showroom tube.

Explore

Luxury Apartments

Where a well-drawn ceiling buys back the height a builder’s slab never gave you.

Explore

Corporate Offices

Grid ceilings, glare control and lux levels a person can sit under for nine hours.

Explore

Associated Brands

The names we
build with.

Cores, hardware, laminates and finishes are specified from brands that stand behind their warranty — because the parts you never see decide how long the ones you do see keep looking right.

  • Hettich
  • Godrej
  • Blum
  • Häfele
  • Ebco
  • Grass
  • Greenply
  • CenturyPly
  • Action TESA
  • Merino
  • Virgo
  • Greenlam
  • Royale Touche
  • Advance Laminates

Start your project

Talk to a designer
about False Ceiling & Lighting Design.

Tell us a little about the space. A designer — not a call-centre — calls you back within one working day with straight answers on scope, timeline and cost.

  • A free first consultation
  • Photoreal 3D before anything is built
  • A line-by-line written quotation